
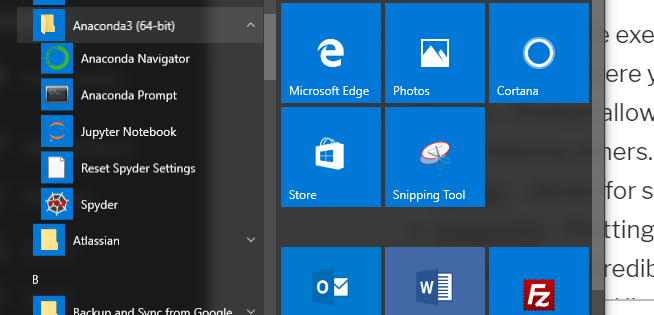
Before you start working in Python you will want to select a development environment (also called Integrated Development Environment or IDE). The most common for scientific work in Python is Spyder which is part of the Anaconda Package. This package can be downloaded from the Anaconda Web Site https://www.anaconda.com/ and includes a few items that will be handy to have such as;
- Python – This is the executable that will interpret the code you write.
- Spyder – This is where you will write code and then click Run to send to Python
- Libraries – Python allows for you to create (and more important) use libraries of code written by others. Some that you will use
- numpy – allows for some complex mathematical analysis
- matplotlib – Plotting tool
- pandas – An incredible data analysis tool
- Conda – a command line tool to help you manage libraries
Once you have downloaded and installed Python and all the tools that come with Anaconda distribution – it is time to get started. If you did everything correctly – you should be able to fire up Spyder and get started.
Starting up Spyder
Once you have the Anaconda distribution installed, it is time to start Spyder and start writing Python code. Let’s take a look at Spyder. Each window inside Spyder can be customized inside Spyder, but here is a simple capture and what you can do in each Window.

- Editor Window – This is where you will write your Python Code
- Variable Explorer – A very handy window that will show variable values
- Console – The main execution and results from the code, output goes here
Python is different than many computer languages in that you can interpret sections of code (no compilation process needed). This is easy to do – simply highlight the code you want to execute and Hit Ctrl-Enter. Below are the results of doing this with the code shown.
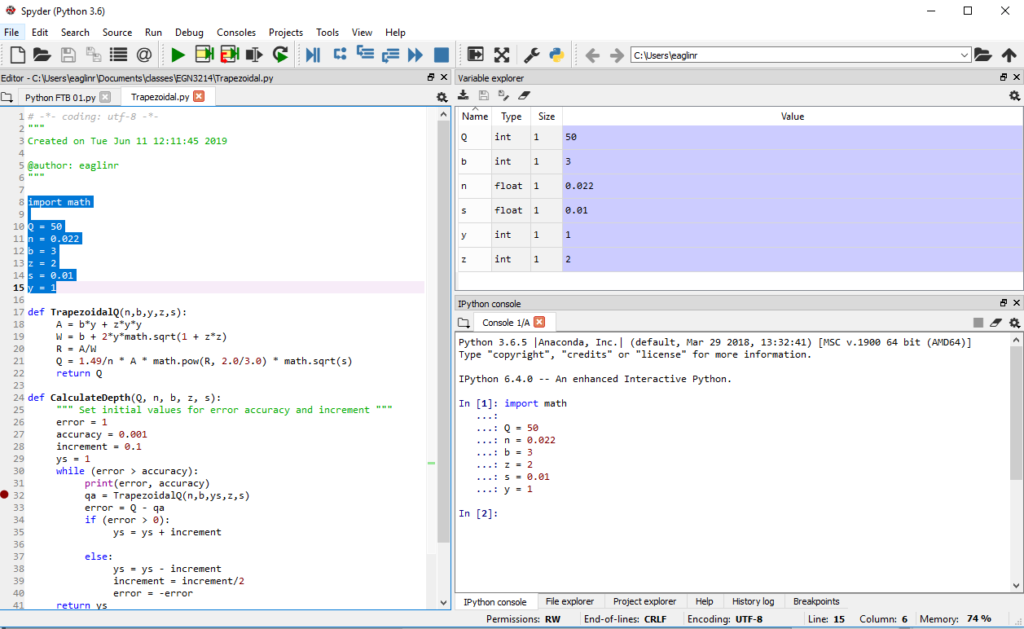
Notice that the code highlighted and executed in this example simply defined the value of some variables. When the code was executed the variable values automatically showed up in the Variable Explorer window. Also notice that the Console Window shows the code executed as a command labeled In [1]:
This is what you need to get up and running in Python.
Now You Try
To see how all this works now it is your turn – here is what you should do;
- Install the correct Anaconda distribution for your computer (Windows, Mac, Linux)
- Start the Spyder editor
- In the Editor Window type the lines of code from below
- Highlight the lines of code and hit Ctrl-Enter
- Observe the results in the Variable Explorer
a = 1
b = 1
c = a + b
If you were able to do everything (note that the variable explorer window might be configured to show something different) – you should see the values of a, b, and c. These are variables and next we will learn to use them.
Next: Variables and Functions